Manage Customer Sites

Manage Customer Sites
The Manage Customer Sites page allows you to create and maintain individual customer site records and associate them with catalogs. Customer sites represent physical or logical locations for a customer and are a key component in controlling catalog visibility and pricing in the eCatalog.
Each customer can have one or more sites, and each site can be linked to a specific catalog to define which items are available at that location.
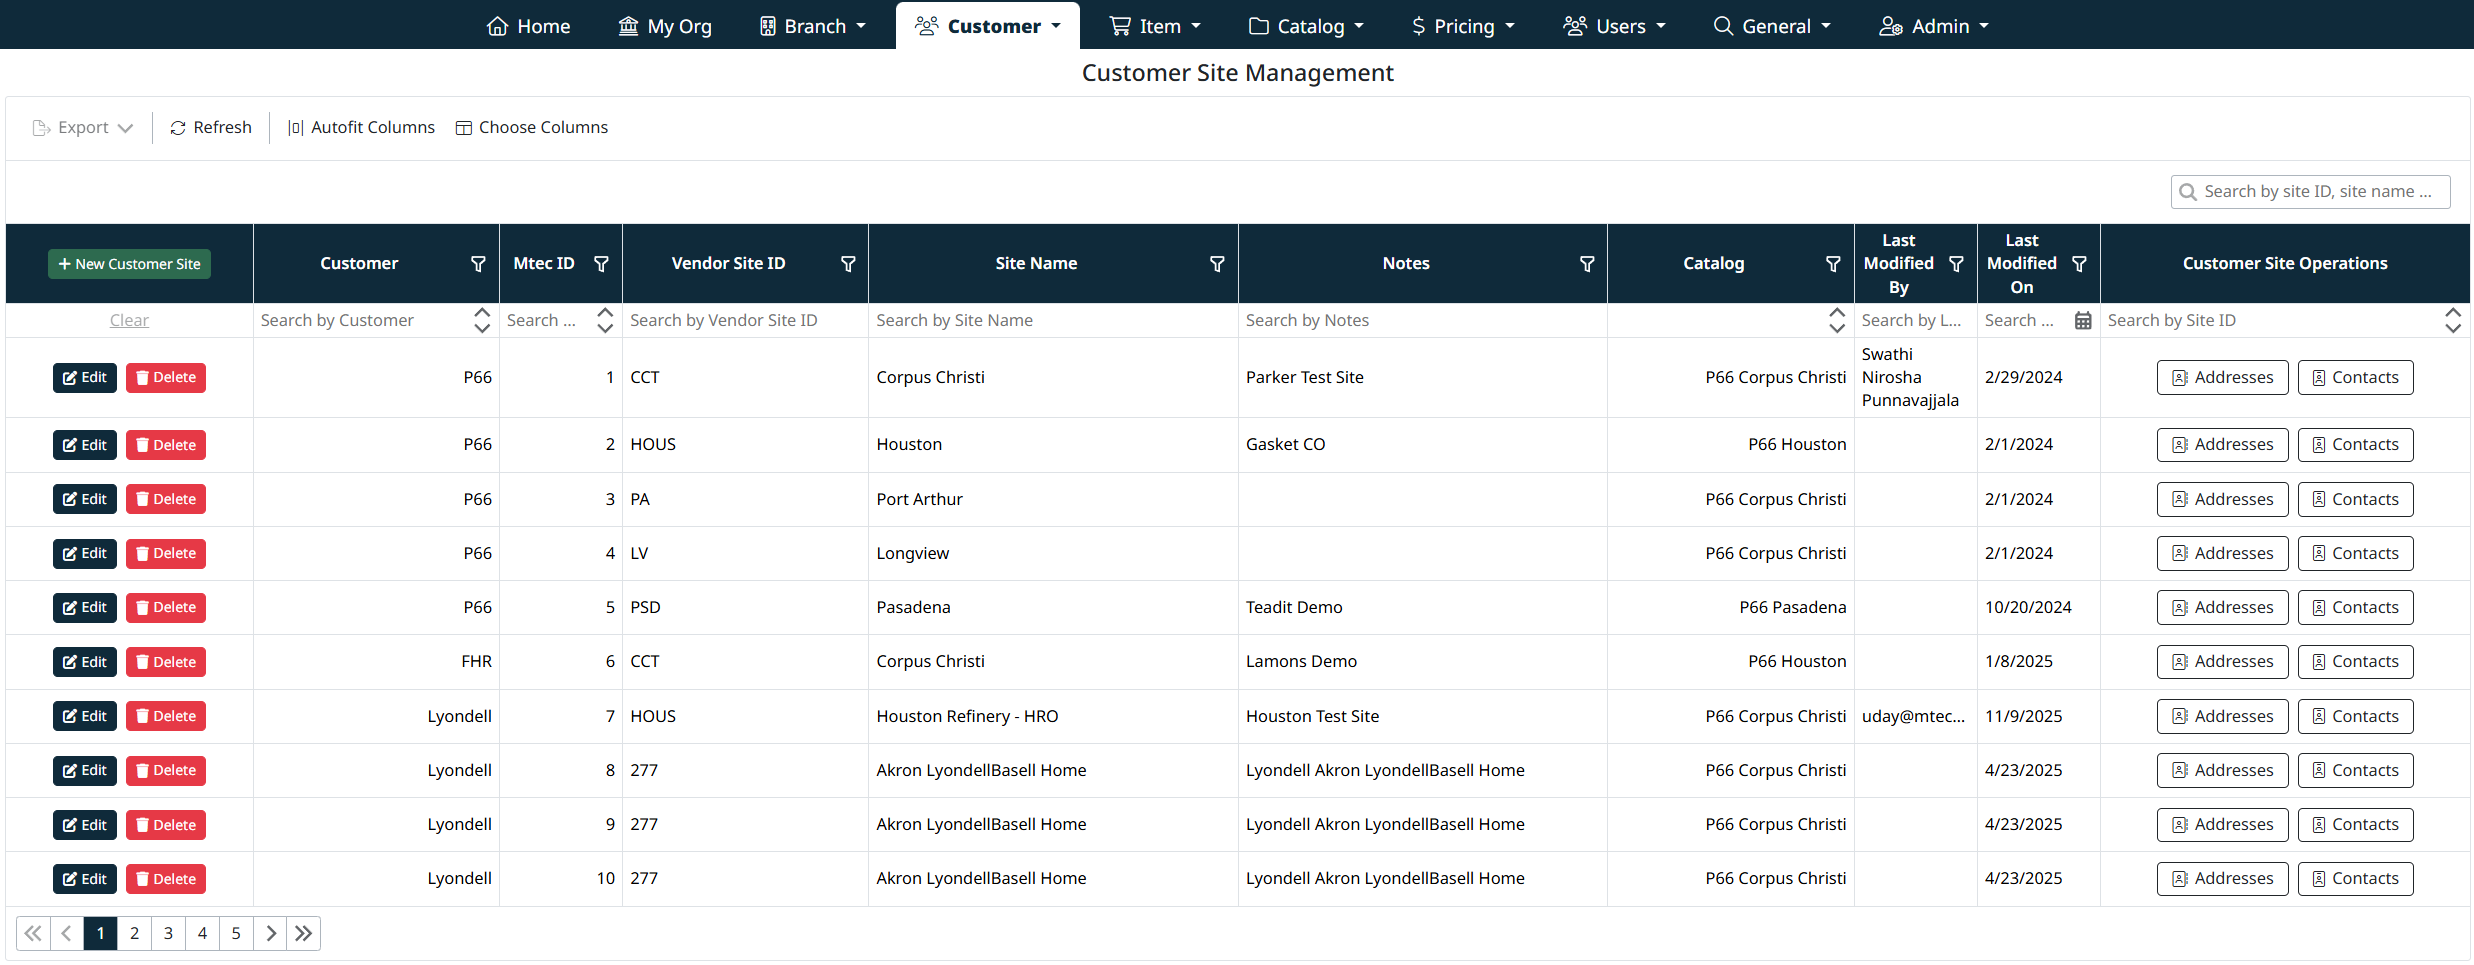
Accessing Manage Customer Sites
To access this screen:
- From the top navigation bar, select Customer.
- Click Customer Sites.
The Customer Site Management grid will display all configured customer sites.

Creating a New Customer Site
To add a new customer site:
- Click + New Customer Site.
- Complete the required fields:
- Customer – Select the customer this site belongs to.
- Site Name – Enter a descriptive name for the site.
- Vendor Site ID – Enter the vendor-specific site identifier.
- Catalog – Select the catalog assigned to this site.
- Notes (optional) – Add any additional context or internal notes.
- Click Save Customer Site to create the record, or Cancel to discard changes.
The new customer site will appear in the grid once saved.

Editing an Existing Customer Site
To modify an existing site:
- Locate the site in the grid.
- Click Edit.
- Update the required fields.
- Click Save Customer Site to apply changes.

Deleting a Customer Site
To delete a customer site:
- Click Delete next to the site.
- Confirm the deletion when prompted.
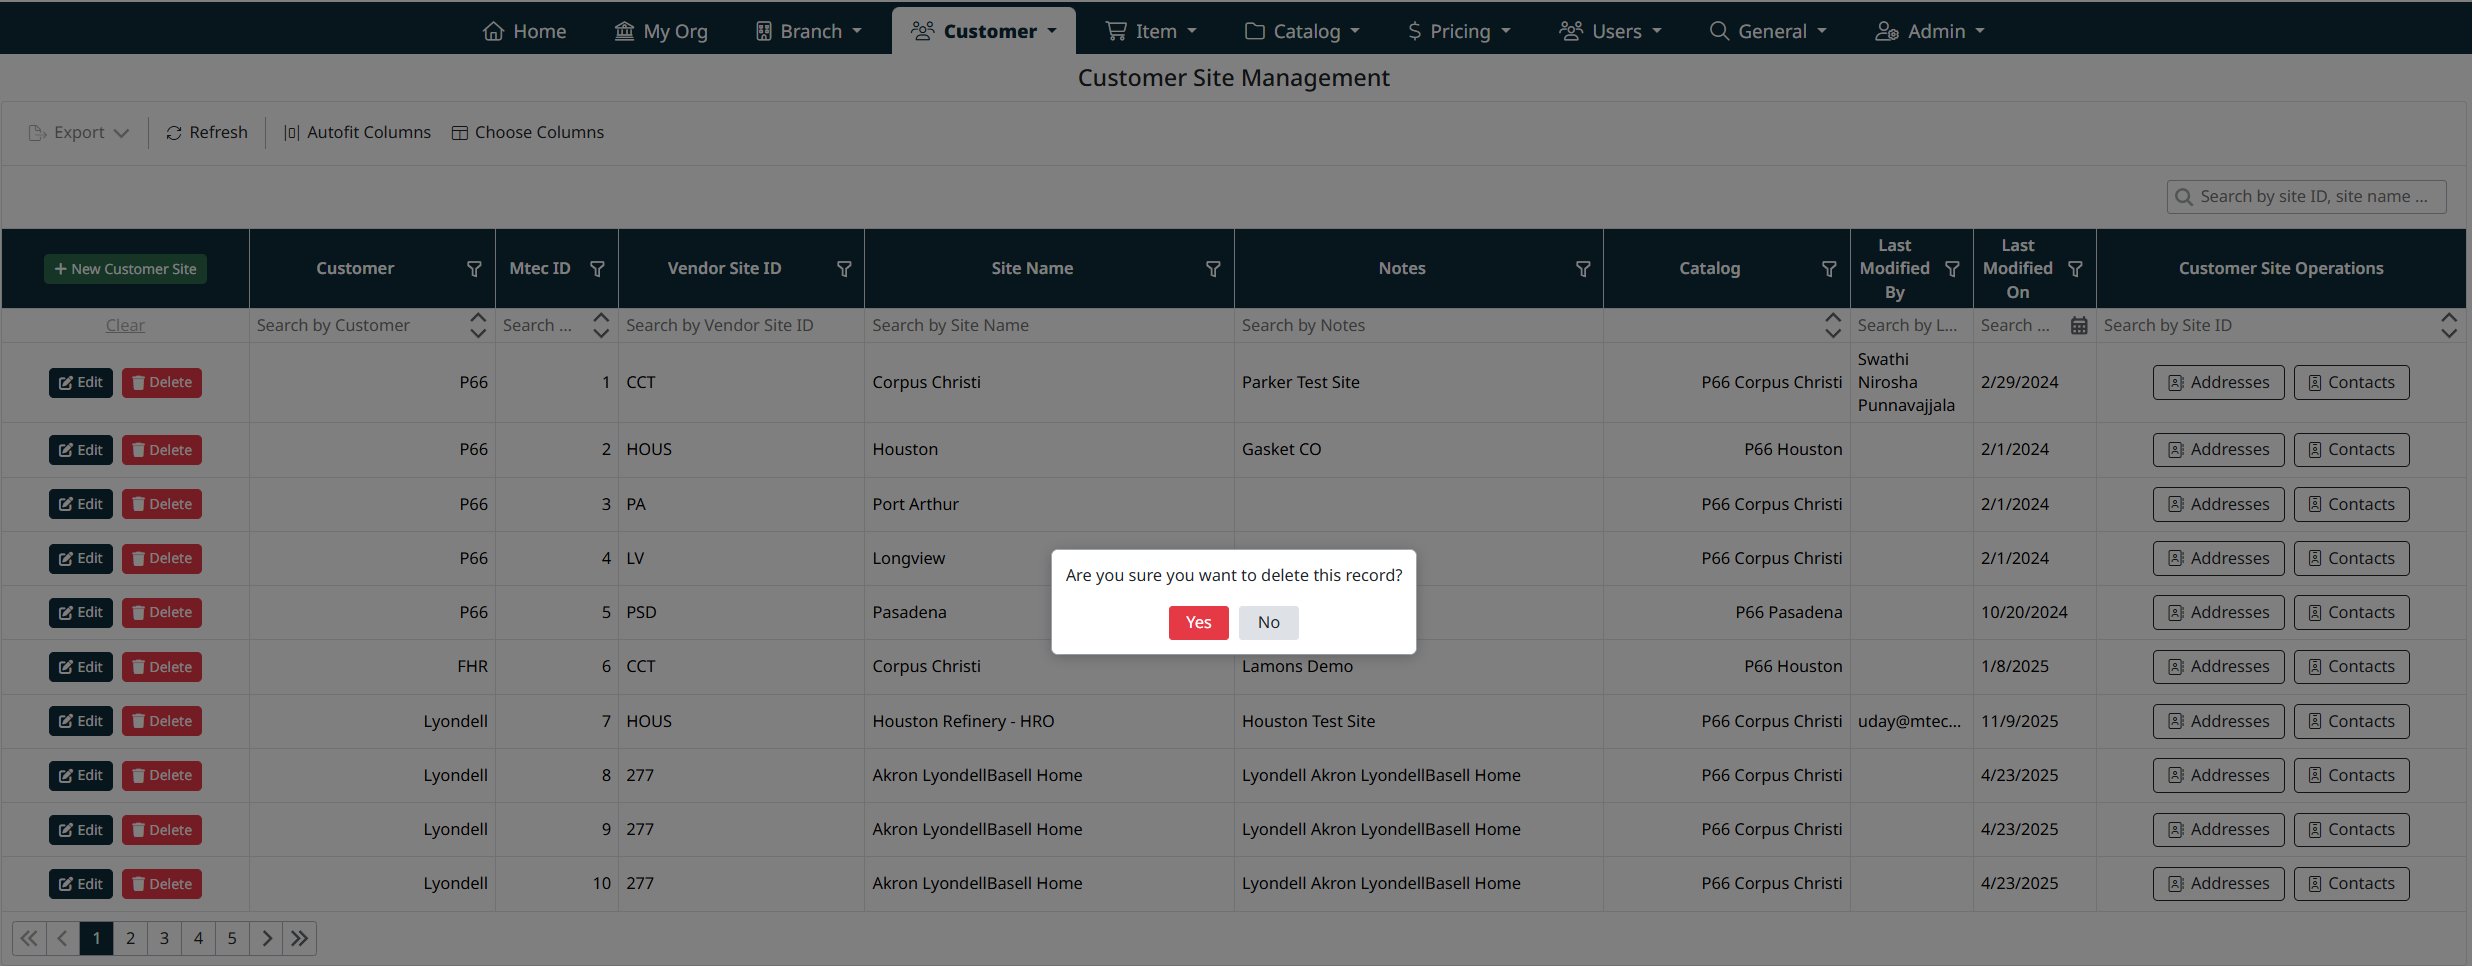
Note: Deleting a customer site removes its catalog association and may affect customer access in the eCatalog.
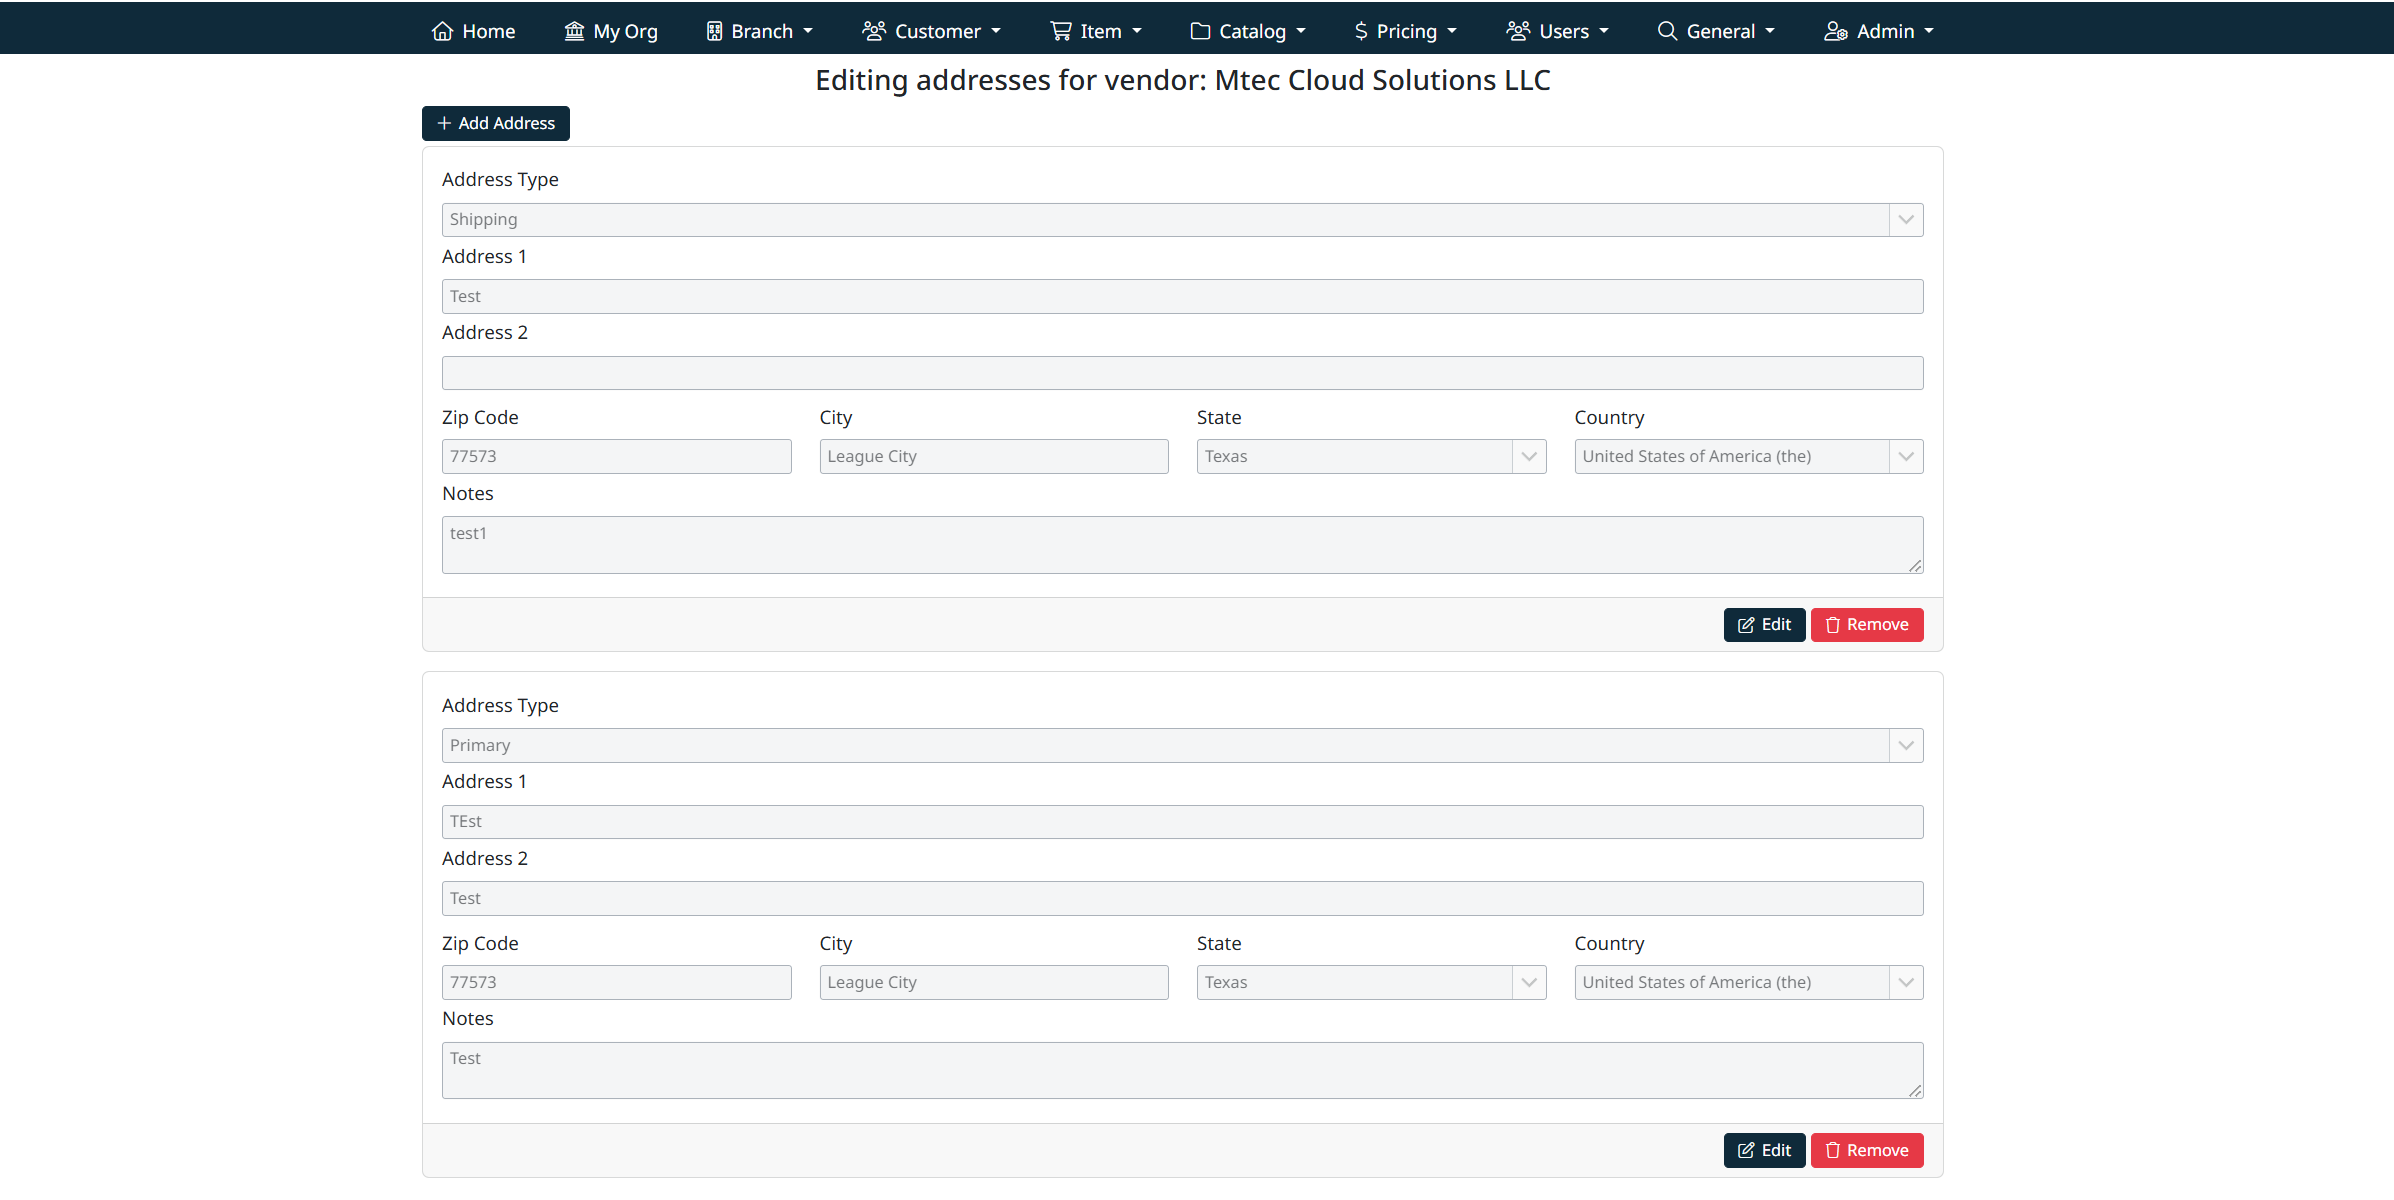
Managing Customer Site Addresses
Each customer can have one or more addresses associated with it.
- Click Addresses in the Customer Operations column.
- The system will open the Address Management screen.
- From here you can:
- Add new addresses
- Edit existing addresses
- Remove addresses as needed
Note: Customer address management uses the same address interface and behavior as My Organization - Managing Organization Addresses
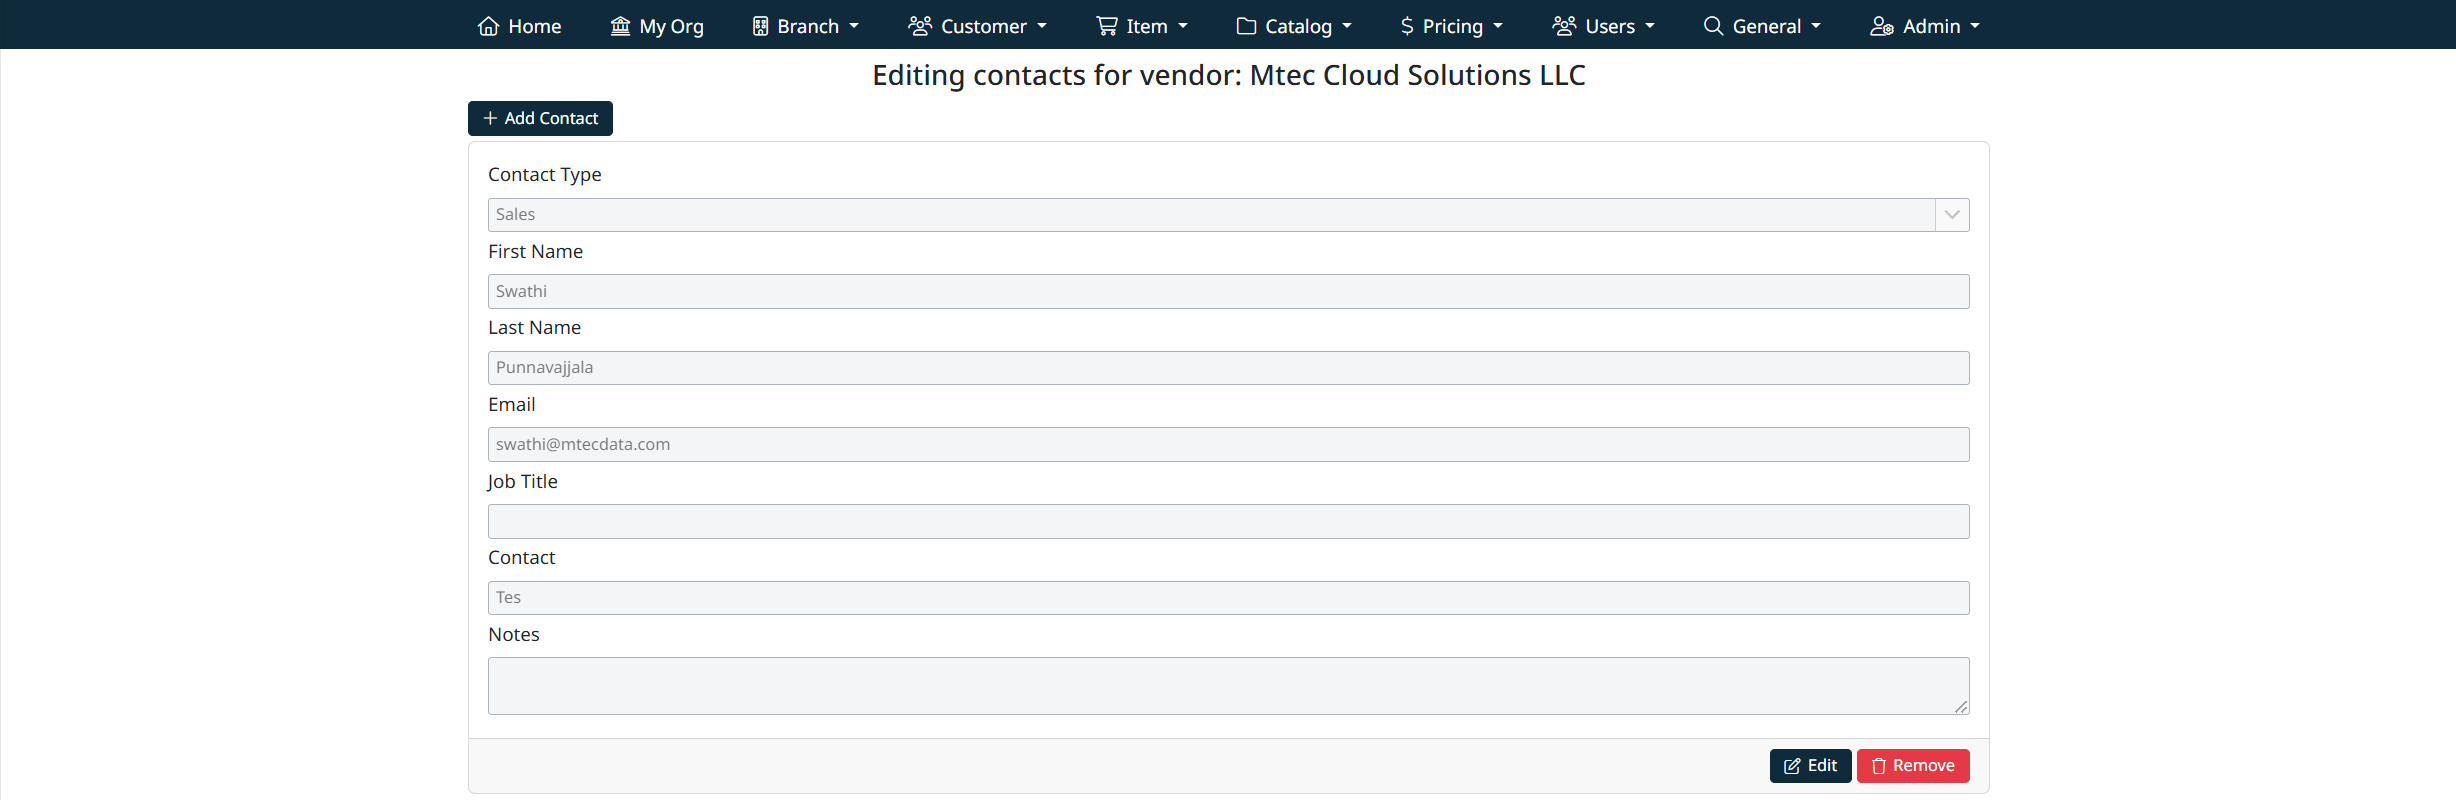
Managing Customer Site Contacts
Each branch can also maintain its own contact records.
- Click Contacts in the Contact Operations column.
- The Contact Management screen will open.
- You can:
- Add contacts for the branch
- Edit contact details
- Remove contacts when no longer required
Note: Branch contact management uses the same contact interface as My Organization - Managing Organization Contacts, ensuring consistency across the system.
Navigation Grids, Search and Filters
This screen uses a standard grid controls for searching, filtering, sorting, and managing records.
The grid provides the following tools:
- Column filters to narrow results by specific fields (such as IDs, names, notes, and modification details)
- Inline search fields below column headers for quick, column-specific filtering
- Global search bar for keyword-based searching across visible data
- Column sorting by clicking column headers
- Grid actions including export, refresh, auto-fit columns, and column visibility customization
For detailed instructions on using grid search, filters, and column controls, see Navigating Grids, Search, and Filters.
Created with the Personal Edition of HelpNDoc: Easy Qt Help documentation editor