Manage Customer Sites Ship To

Customer Site Ship To
The Customer Site Ship To screen is used to map customer-provided Ship To identifiers to the correct Customer Site within the system.
This mapping ensures that inbound transactions (such as EDI orders) are correctly matched to the appropriate customer site and address.
This screen is typically used during customer onboarding, EDI setup, or when resolving Ship To mismatches.

Accessing Customer Site Ship To
- From the top navigation bar, click Customer.
- Select Customer Sites Ship To.
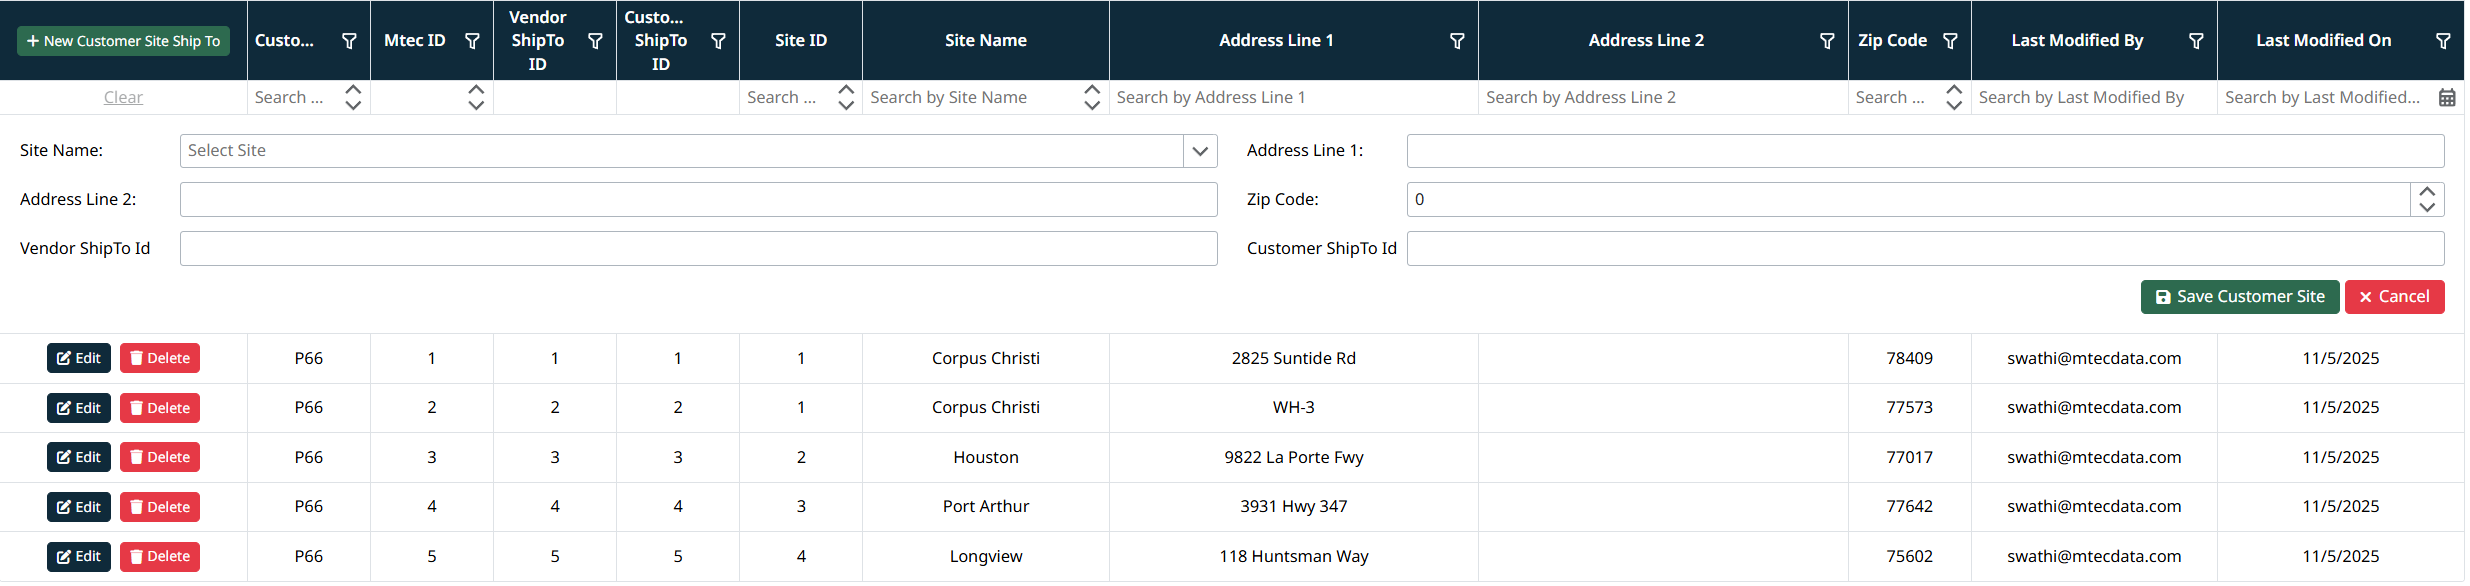
The Customer Site Ship To Management grid will display all existing Ship To mappings.

Understanding the Customer Site Ship To Grid
Each row in the grid represents a Ship To mapping for a customer site.
Common columns include:
- Customer – The customer associated with the Ship To
- Mtec ID – Internal system identifier
- Vendor ShipTo ID – Ship To ID provided by the customer or ERP
- Customer ShipTo ID – Customer-specific Ship To reference
- Site ID / Site Name – The customer site being mapped
- Address Line 1 / Address Line 2
- Zip Code
- Last Modified By / On
- Customer Site Operations – Edit or Delete actions
Navigation Grids, Search and Filters
This screen uses a standard grid controls for searching, filtering, sorting, and managing records.
The grid provides the following tools:
- Column filters to narrow results by specific fields (such as IDs, names, notes, and modification details)
- Inline search fields below column headers for quick, column-specific filtering
- Global search bar for keyword-based searching across visible data
- Column sorting by clicking column headers
- Grid actions including export, refresh, auto-fit columns, and column visibility customization
For detailed instructions on using grid search, filters, and column controls, see Navigating Grids, Search, and Filters.
Adding a Customer Site Ship To
- Click + New Customer Site Ship To.
- Complete the required fields:
- Site Name – Select the customer site this Ship To belongs to
- Address Line 1 – Primary Ship To address
- Address Line 2 – Optional secondary address information
- Zip Code
- Vendor ShipTo ID – Ship To identifier from the customer system
- Customer ShipTo ID – Internal or customer-specific Ship To reference
- Click Save Customer Site to create the mapping.
- Click Cancel to discard changes.
Editing a Customer Site Ship To
- Locate the Ship To record in the grid.
- Click Edit.
- Update the required fields as needed.
- Click Save Customer Site to apply changes.

Deleting a Customer Site Ship To
- Click Delete next to the Ship To record.
- Confirm the deletion when prompted.
⚠️ Note: Deleting a Ship To mapping may impact order processing if incoming transactions reference this Ship To.

When to Use Customer Site Ship-To
Use this screen to control how a customer is directed to a specific site within the eCatalog when accessing the system from their external/customer system.
Use this screen when:
- A customer requires automatic routing to a specific customer site
- You want to prevent users from selecting a site manually at login
- A new Ship-To ID needs to be mapped to an existing customer site
- You want to ensure a consistent and streamlined login experience for the customer
How Ship-To Mapping Works
- The Ship-To ID is used to determine which customer site a user is directed to when accessing the eCatalog
- When a valid Ship-To mapping exists:
- The user is automatically directed to the associated customer site
- When no Ship-To mapping exists:
- The user will be presented with a list of available customer sites to choose from at login
Why This Matters
This mapping directly controls:
- The site-specific catalog the customer sees
- The pricing and product availability applied to that site
- The overall user experience during login
Notes
- Ship-To mappings are typically provided by the customer’s system
- Each Ship-To ID should map to a valid Customer Site
- Incorrect or missing mappings can result in users seeing the wrong site or being prompted to select one manually
Created with the Personal Edition of HelpNDoc: Experience a User-Friendly Interface with HelpNDoc's Documentation Tool